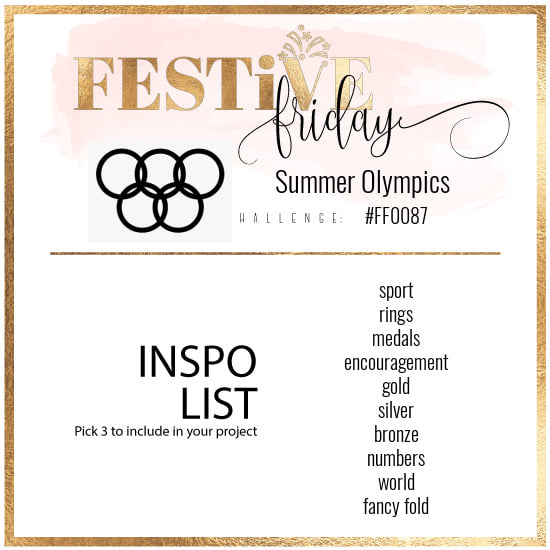
It’s time for a new challenge over at Festive Friday Challenges, and this time the festivity we are recognizing is the Summer Olympics. We used that to come up with 10 ideas for our Inspo List, but remember, your card or project doesn’t have to reflect the festivity, the only thing required is that you use any 3 (or more) of the items from the list!
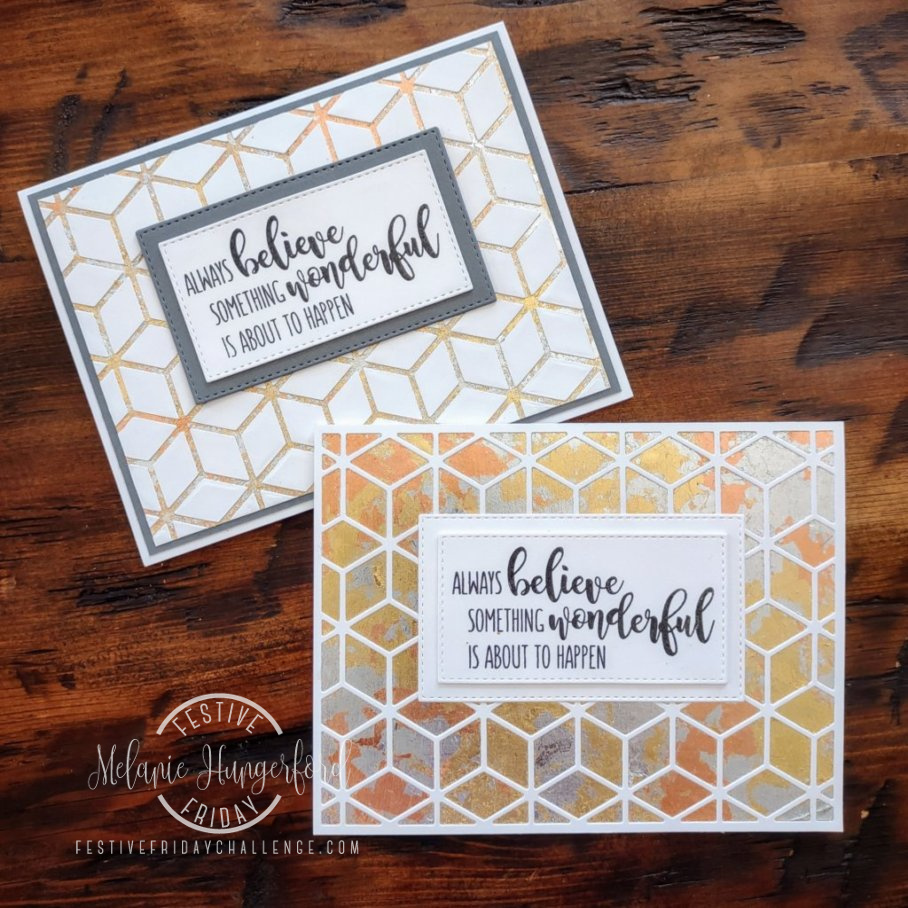
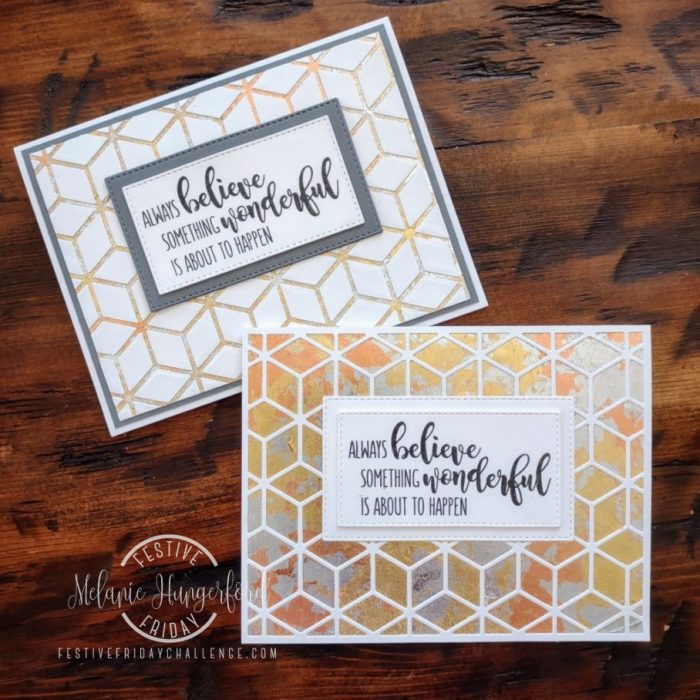
Usually I try to include the festivity on my card, however this time I was inspired by the gold, silver, and bronze from the list as I have Nuvo gilding flakes in each of those colors. I also used encouragement for the sentiment on my cards.
Have you ever used or played with gilding flakes? A few years ago I took the time to watch several tutorials and decided to buy some to try out. Warning: They are kind of messy! Fortunately I think the results are well worth it.
Although there are a lot of different ways to use gilding flakes, the technique I used for these cards is one of my favorites. I put together a very basic photo tutorial to show what I did.
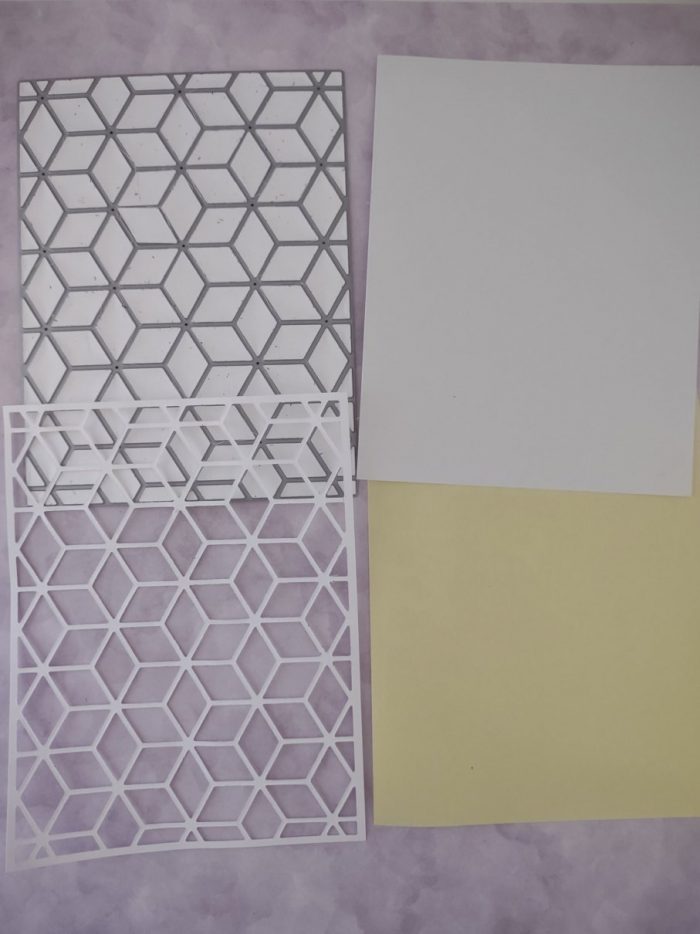
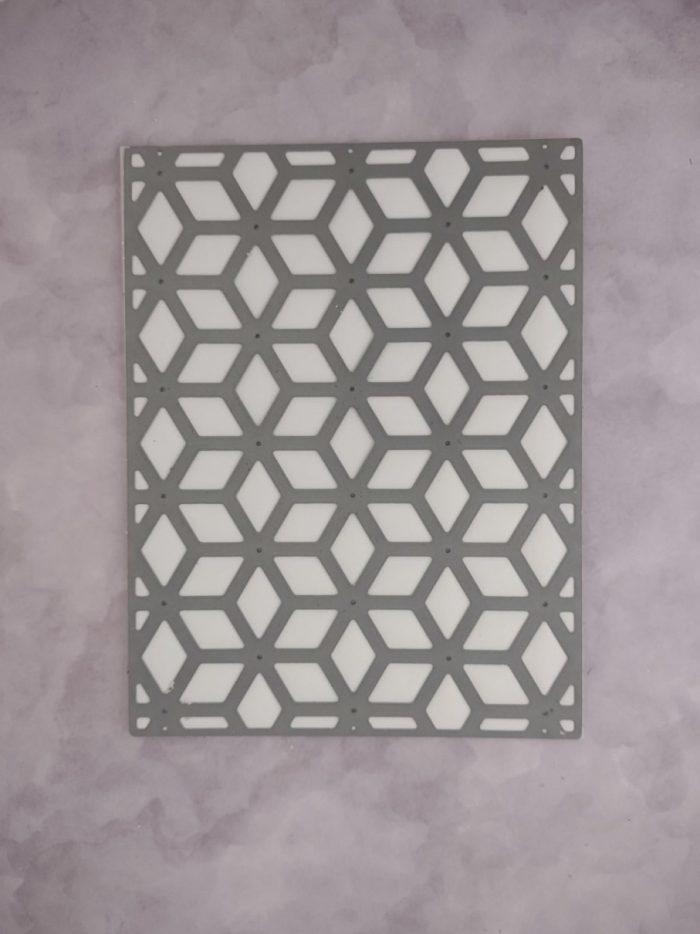
1. I used a cover die on a piece of 4 1/4″ by 5 1/2″ piece of white cardstock. The yellow piece is double sided adhesive sheet, cut the same size.
2. This shows the die cut after the paper is removed, the negative pieces are left in the die cut. I also peeled off the yellow top of the double sided adhesive sheet leaving the white you see the sticky part.
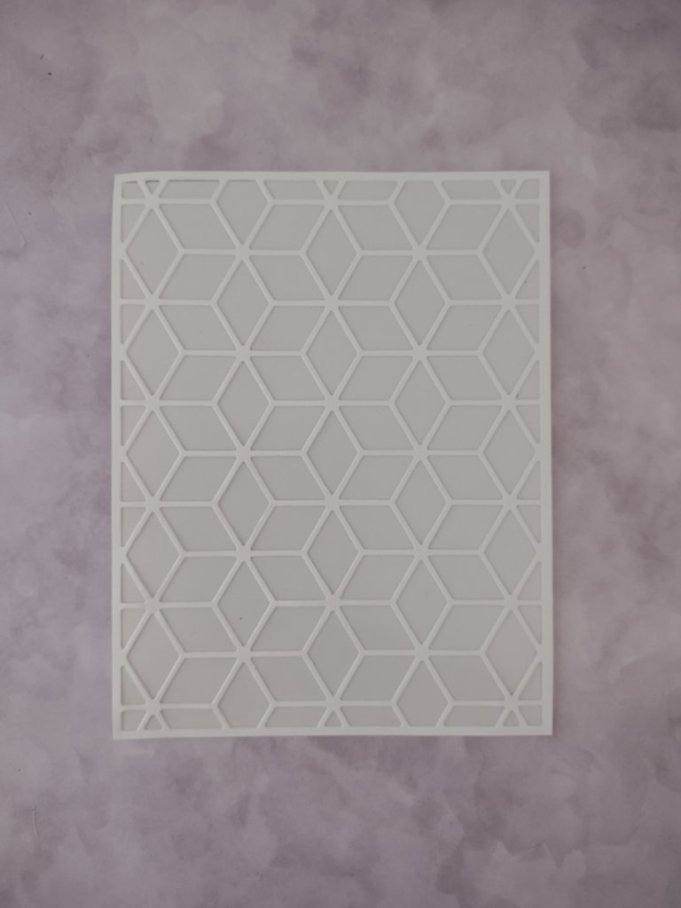
3. I carefully placed the die cut piece on top of the sticky paper. The die cut sticks and the openings are sticky.
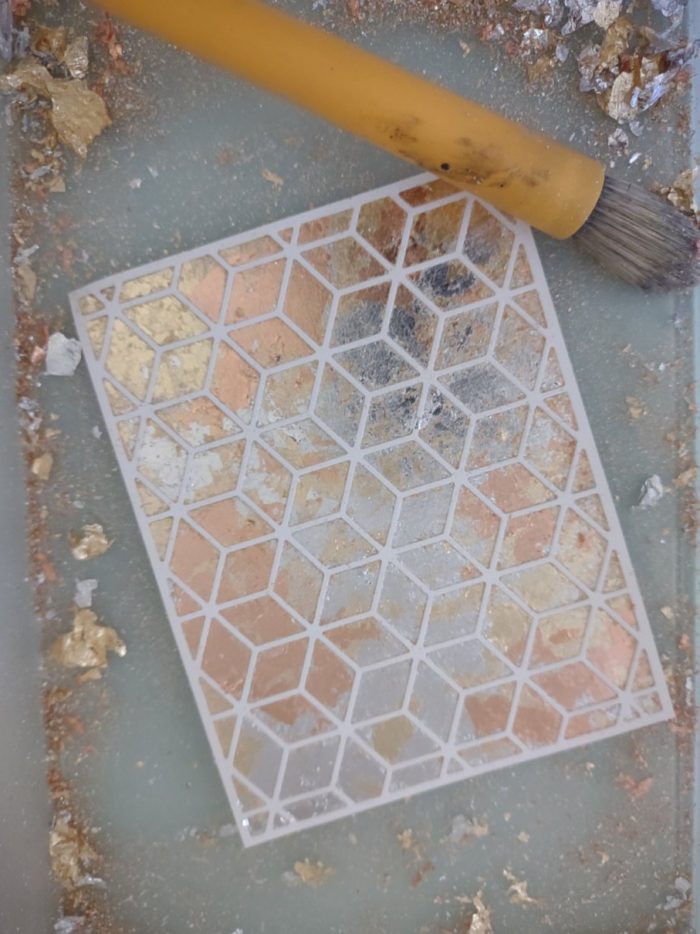
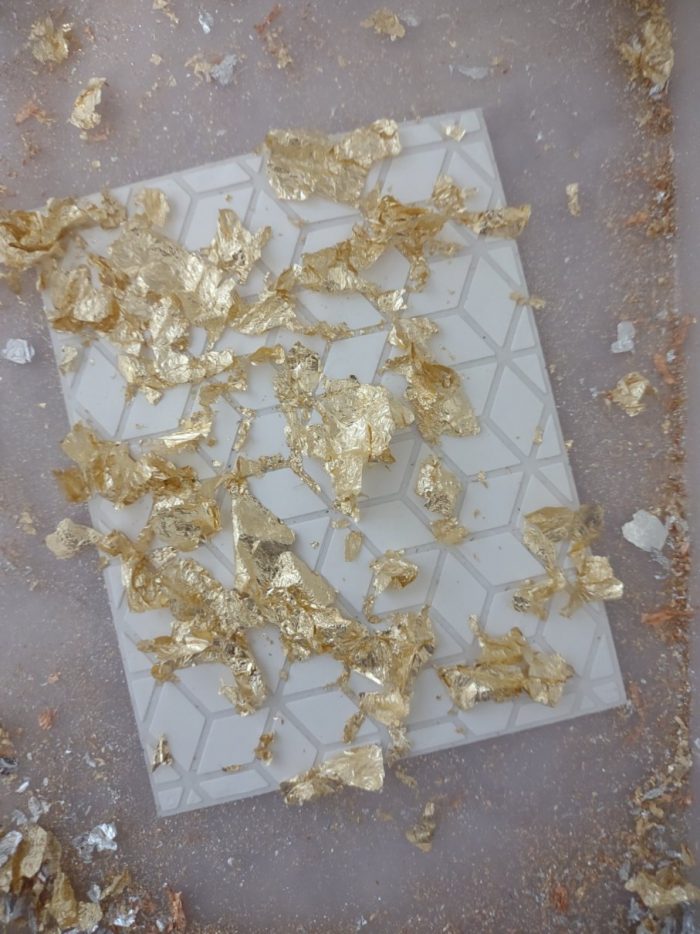
4. Next I set some gilding flakes on top of the sticky spots. You need very little, and just one layer. I use a kind of firm paint brush to spread and press the flakes onto the adhesive.
5. With pretty good pressure and working up to the edges you get a very smooth and even cover of the metallic flakes.
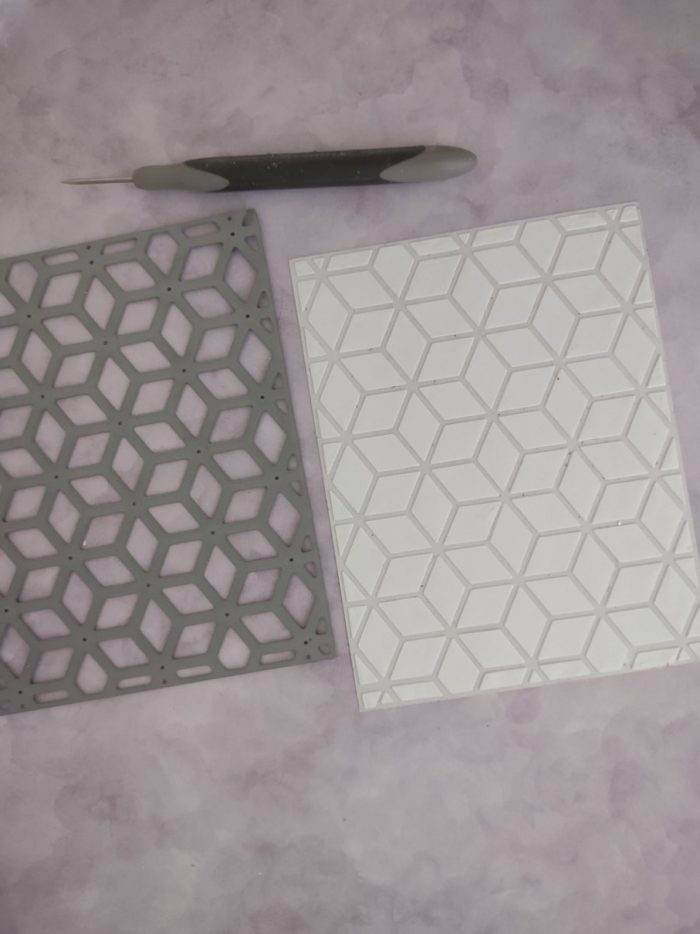
6. Next I peeled the yellow off of a second sheet of double sided adhesive.
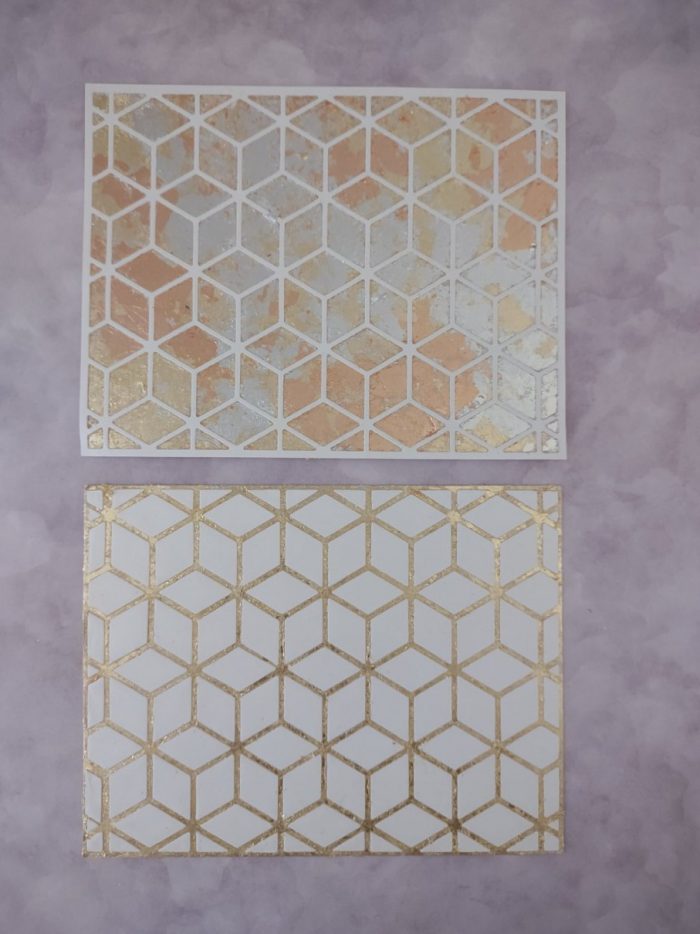
7. I lined up the edges and turned it over so I could press all of the negative pieces onto the adhesive.
8. Here you can see how it looks with all of the pieces transferred to the adhesive sheet. I had to use a poker tool to get all of the pieces out and to press them so they would all stick.
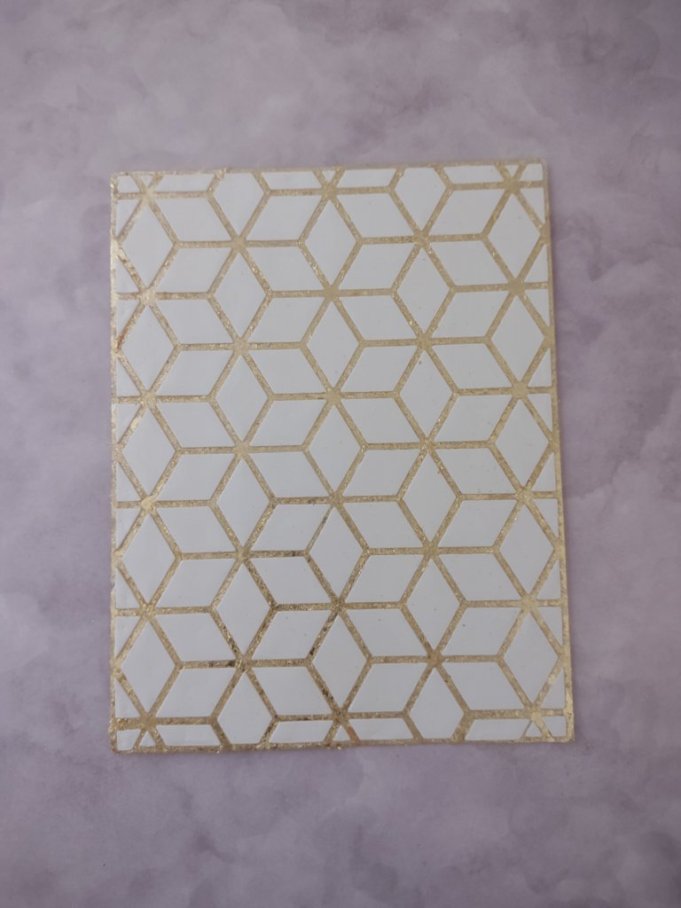
9. This time I used all gold flakes, and spread them over the sticky places.
10. After the flakes were spread and brushed into place.
2 Replies to “Silver, Bronze, and Gold with Gilding Flakes”
Oh my goodness Melanie, the backgrounds are stunning with the gilding flakes! Thanks for showing how you made them, I’ve never tried this technique. What a sweet, encouraging sentiment too. Great card!
Absolutely stunning, Melanie! Two cards with the same design and materials that are absolutely different. I love that. Wonderful technique. I have never used gilding flakes, and now I am inspired to try.